In this short exercise, I create an app that shares code with a server component using Swift, Xcode and Kitura. The goals of this exercise are as follow:
- Create an environment where Xcode is the sole IDE
- Create three Xcode projects: the mobile app, the server-side app, and the shared business logic
- The mobile app and server projects must share the same business logic
- The setup must work with Cocoapods and swift packages
I accomplish the above goals by creating a small Note taking app that stores text notes on the client’s device and synchronizes the data to the server whenever the client chooses to save or delete a note. The client and server use memory storage and only the minimal amount of work is done to accomplish the goals. This exercise is mainly to see how feasible it is to set up such an environment.
The final project can be found here: https://github.com/dimitryz/Notes
Background
There is a common challenge in programming server/client applications, it’s that of sharing business logic across multiple platforms and languages. As of this writing, the most distributed language happens to also be the unlikeliest: Javascript. It was once developed in a matter of weeks by Netscape for browser-side programming, but in recent years, with the introduction of React Native and Node.js, it is found in native apps and on the server.
What JavaScript lacks is common to most non-typed languages:
- It’s not as performant as other languages
- It is arguably more difficulty to read other’s code
- It provides fewer safeguards against bugs
There is now another option for iOS developers who wish to provide server-side logic to offload some of the functionality embedded in their apps, all with minimal learning and technical debt.
Swift
With the introduction of Swift, Apple has made it possible for iPhone and Mac developers to develop on the server with the same language used by Apple’s hardware. This has always been possible with C and C++ but the difficulty of developing server-side code in either of these languages prevented its adoption.
Once written, the Swift server code may be deployed on either Mac or Linux hardware.
As of this writing, there are a number of Swift frameworks that facilitate the development of the server-side component of an app.
The one I chose for this experiment is Kitura. I was most familiar with Kitura and it provided no visible disadvantages over the other framework for the purpose of this exercise.
Initial setup
The planned file/project structure was as follows:
- Xcode workspace
- > iPhone App project
- > Server App project
- > Shared business logic project
- > Pod project
We start the project by creating a top level directory and adding to it an Xcode workspace.
mkdir Notes
cd Notes
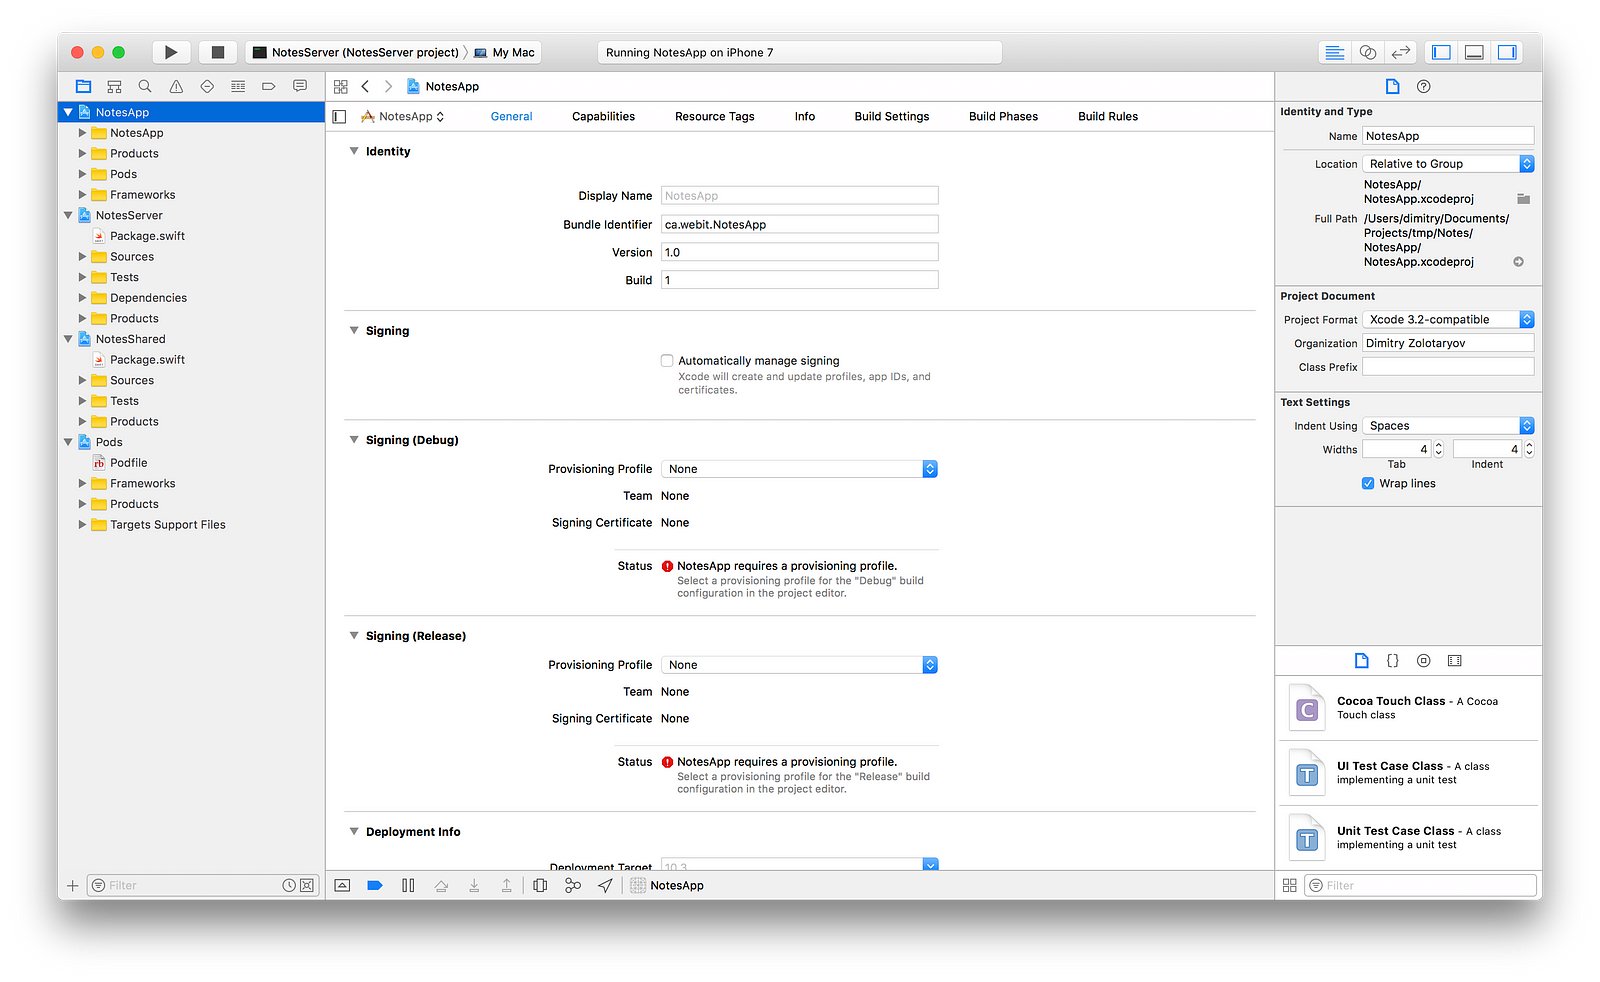
Next, we create a new NotesApp Project and add it to the Workspace

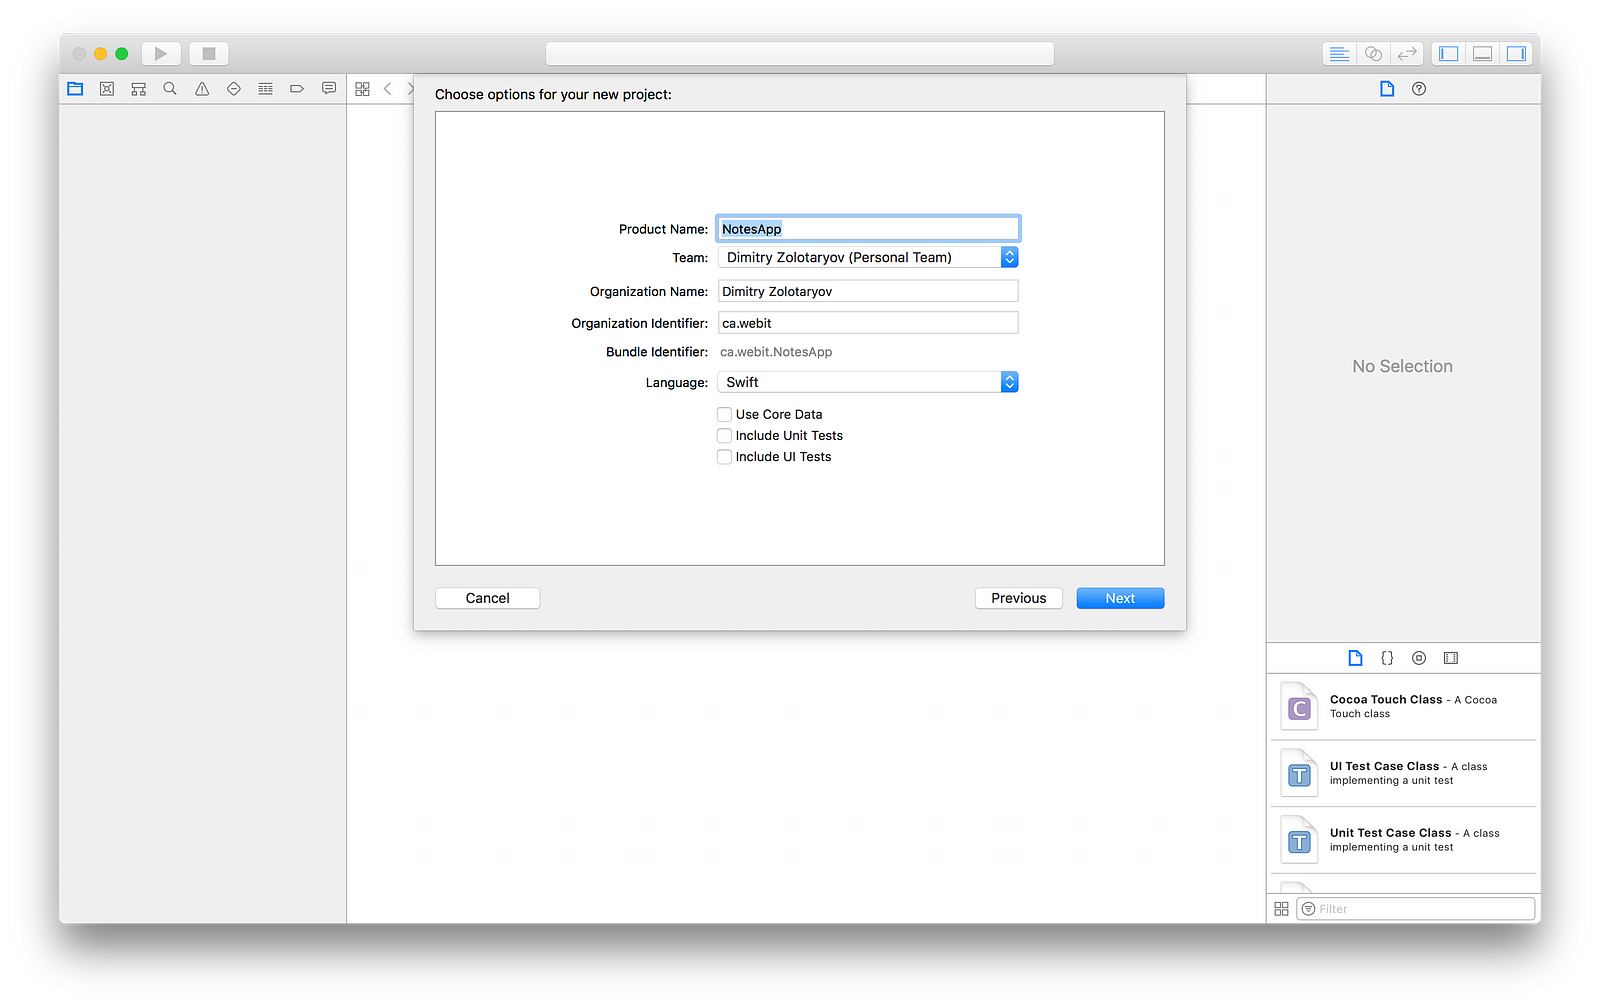


We don’t need CoreData and it’s important to remove Git from the individual NotesApp project. I initialize the root Workspace directory as the git project.
Adding Cocoapods
I also want to have Cocoapods attached to the NotesApp project (but not the other projects). We do so by adding a Podfile file to the root directory with the following content.
workspace “Notes.xcworkspace"target "NotesApp" do
use_frameworks!
project "NotesApp/NotesApp.xcodeproj"
endThe Podfile dependencies will remain empty for now. It’s not necessary for the scope of this project to go beyond initializing the Pod project.
The Pod project is initialized like so:
pod install
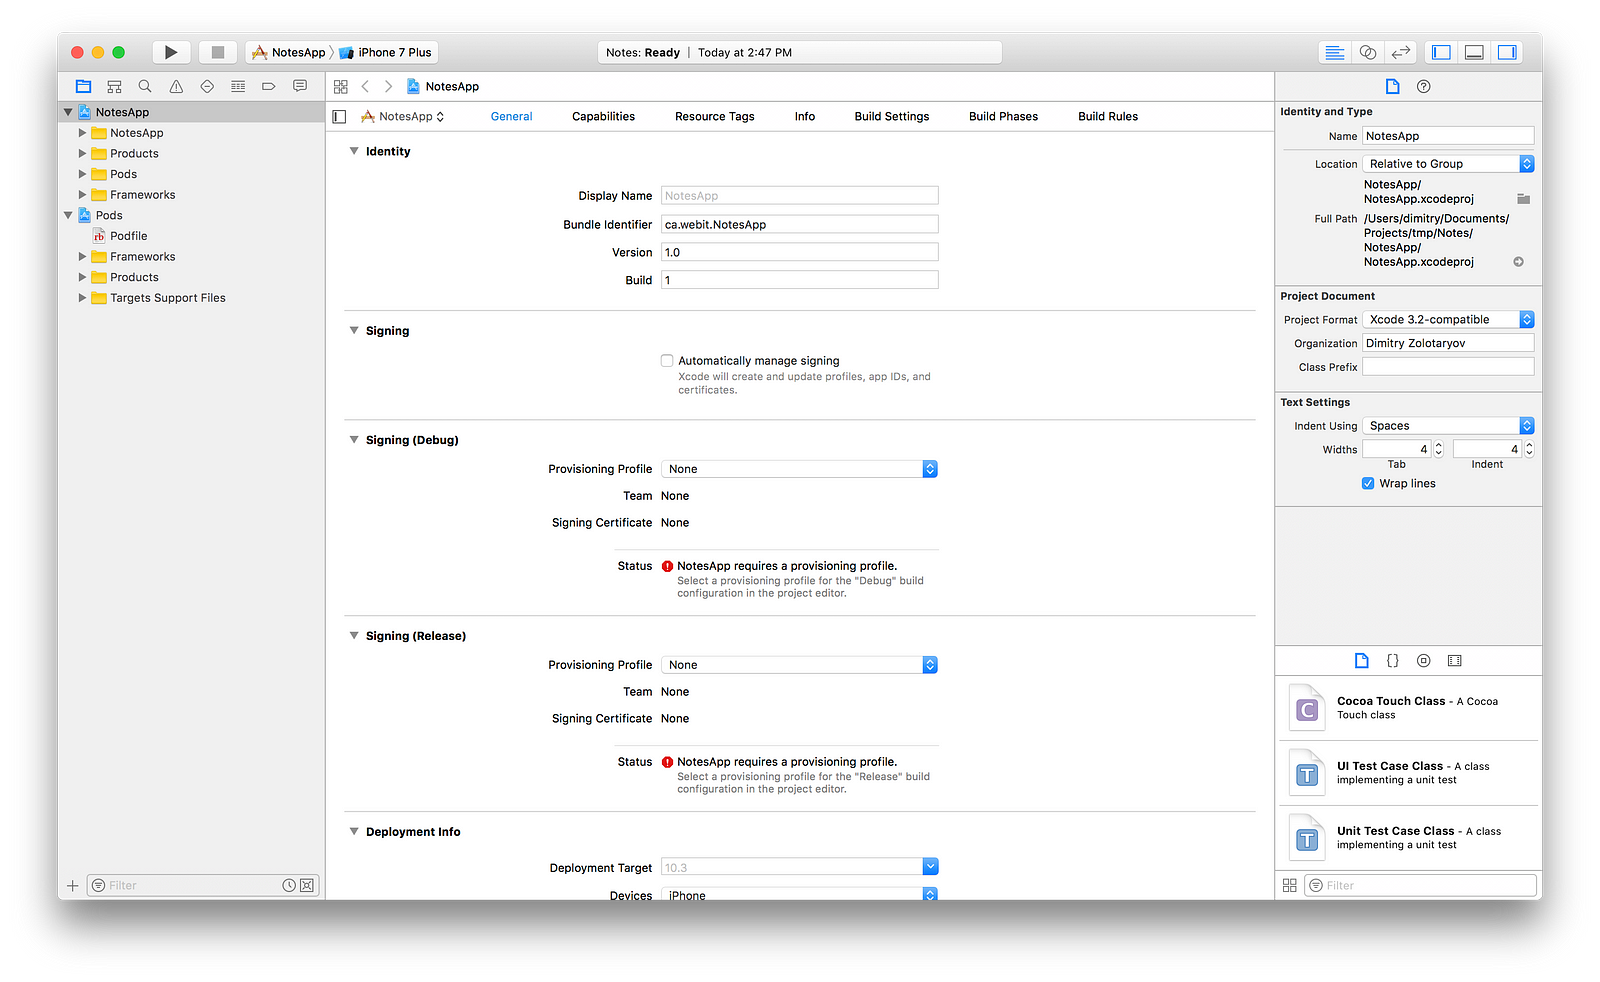
You should end up with a new Pods project in Xcode.
Adding the NotesServer and NotesShared projects
For the remaining two projects, the process is very similar: it requires using the command line to initialize two Swift packages. One of the packages will be an executable type (for the server) and the other just a regular package. Both will have their own dedicated Xcode project files.
mkdir NotesServer
cd NotesServer
swift package init — type executable
We’ll need to modify the NotesServer Package.swift file to include the Kitura framework:
// swift-tools-version:4.0
import PackageDescription
let package = Package(
name: "NotesServer",
dependencies: [
.package(url: "https://github.com/IBM-Swift/Kitura.git", from: "1.7.0")
]
)Once modified, we’ll also need to fetch the dependencies and create the Xcode project file.
swift package resolve
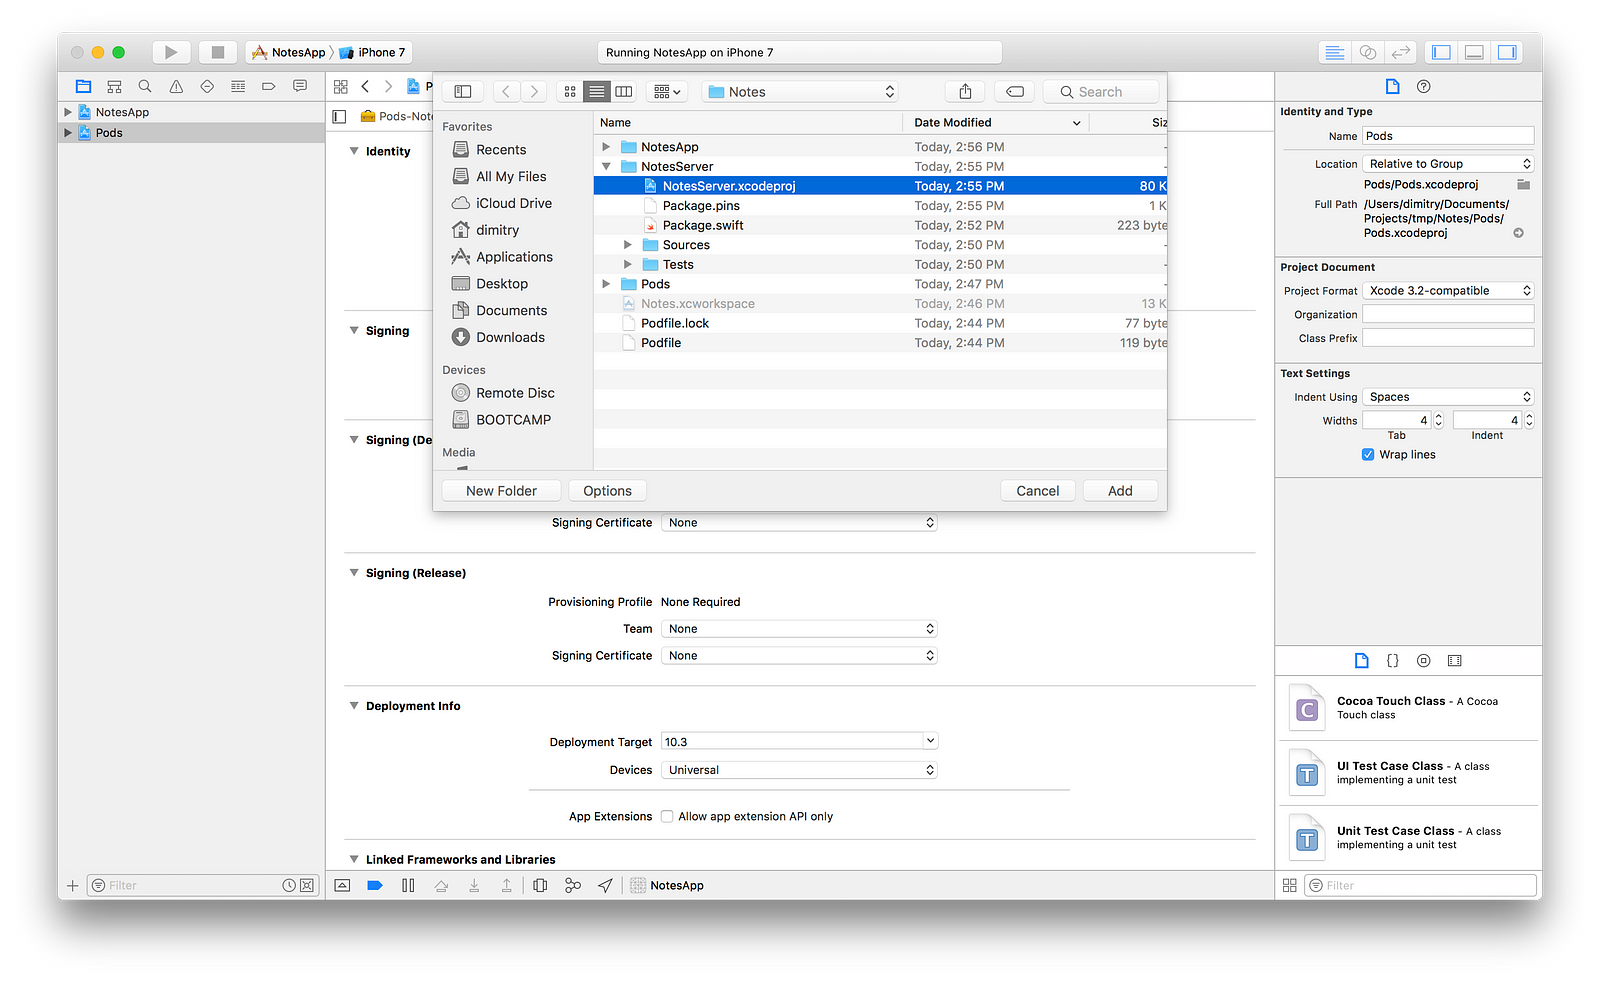
swift package generate-xcodeprojNow either drag the generated .xcodeproj file to the workspace or add it using the contextual menu in the sidebar.
We will finish up by doing the same for the NotesShared package.
cd ..
mkdir NotesShared
cd NotesShared
swift package init
swift package generate-xcodeproj
You’ll note the slightly different file structure in the NotesShared package when compared to the NotesServer project.
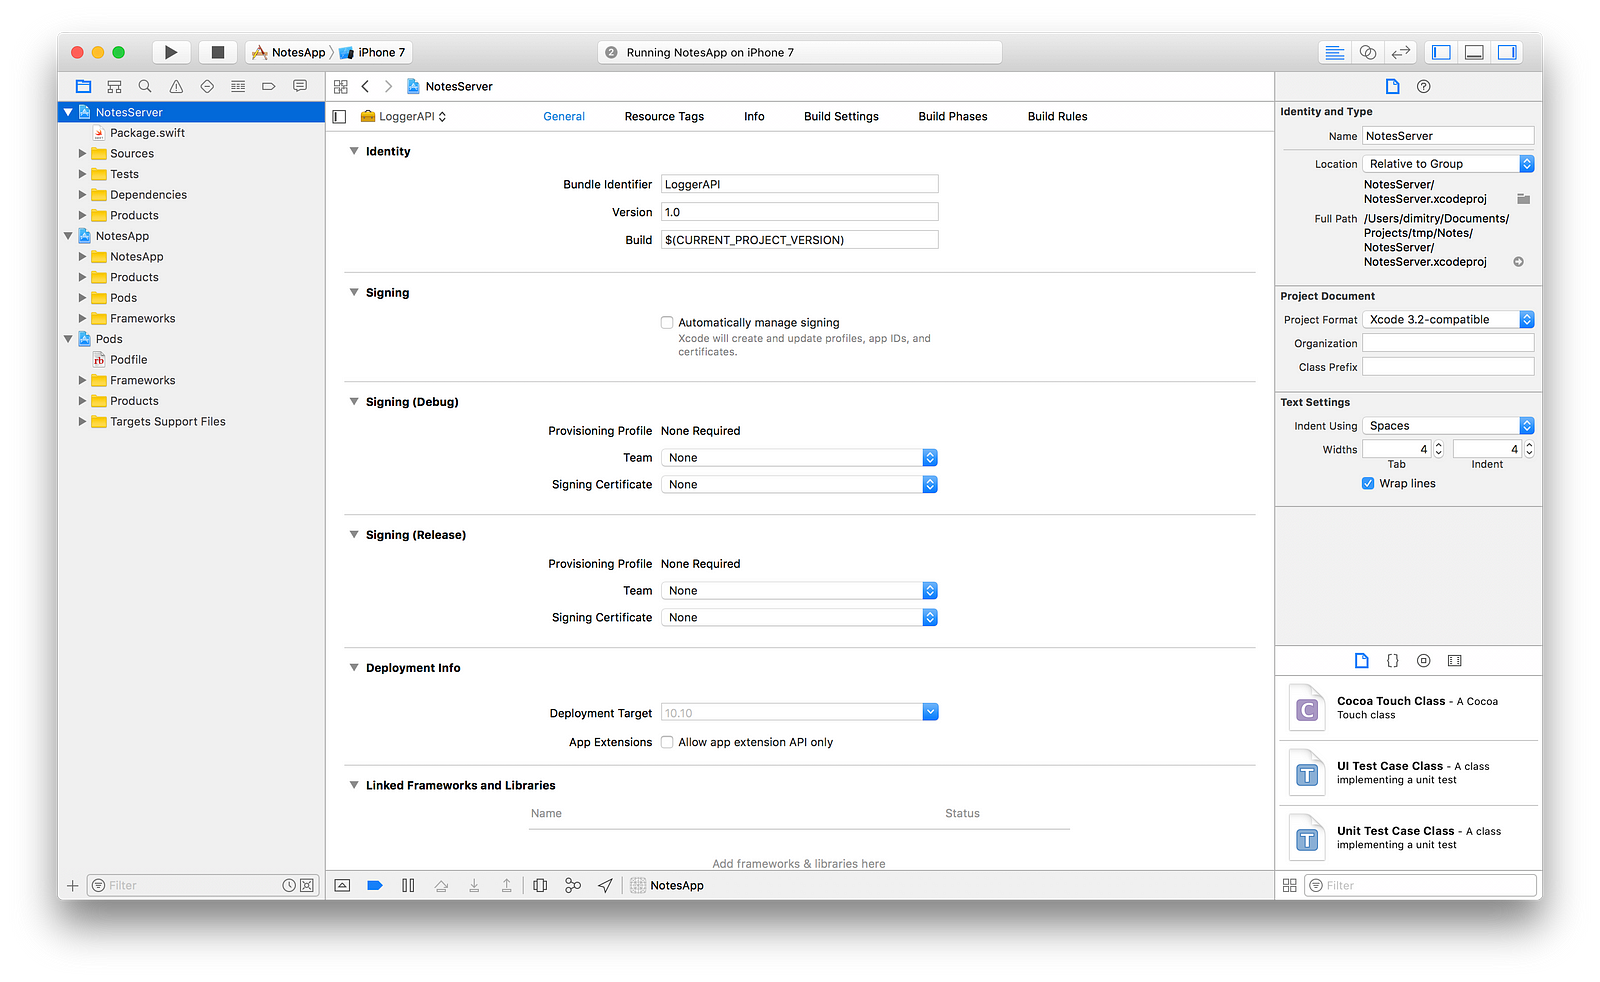
The final structure should look like this:
Now that all the projects are set up, there is only one remaining step: creating a dependency between the NotesApp and NotesShared projects, and between the NotesServer and NotesShared projects.
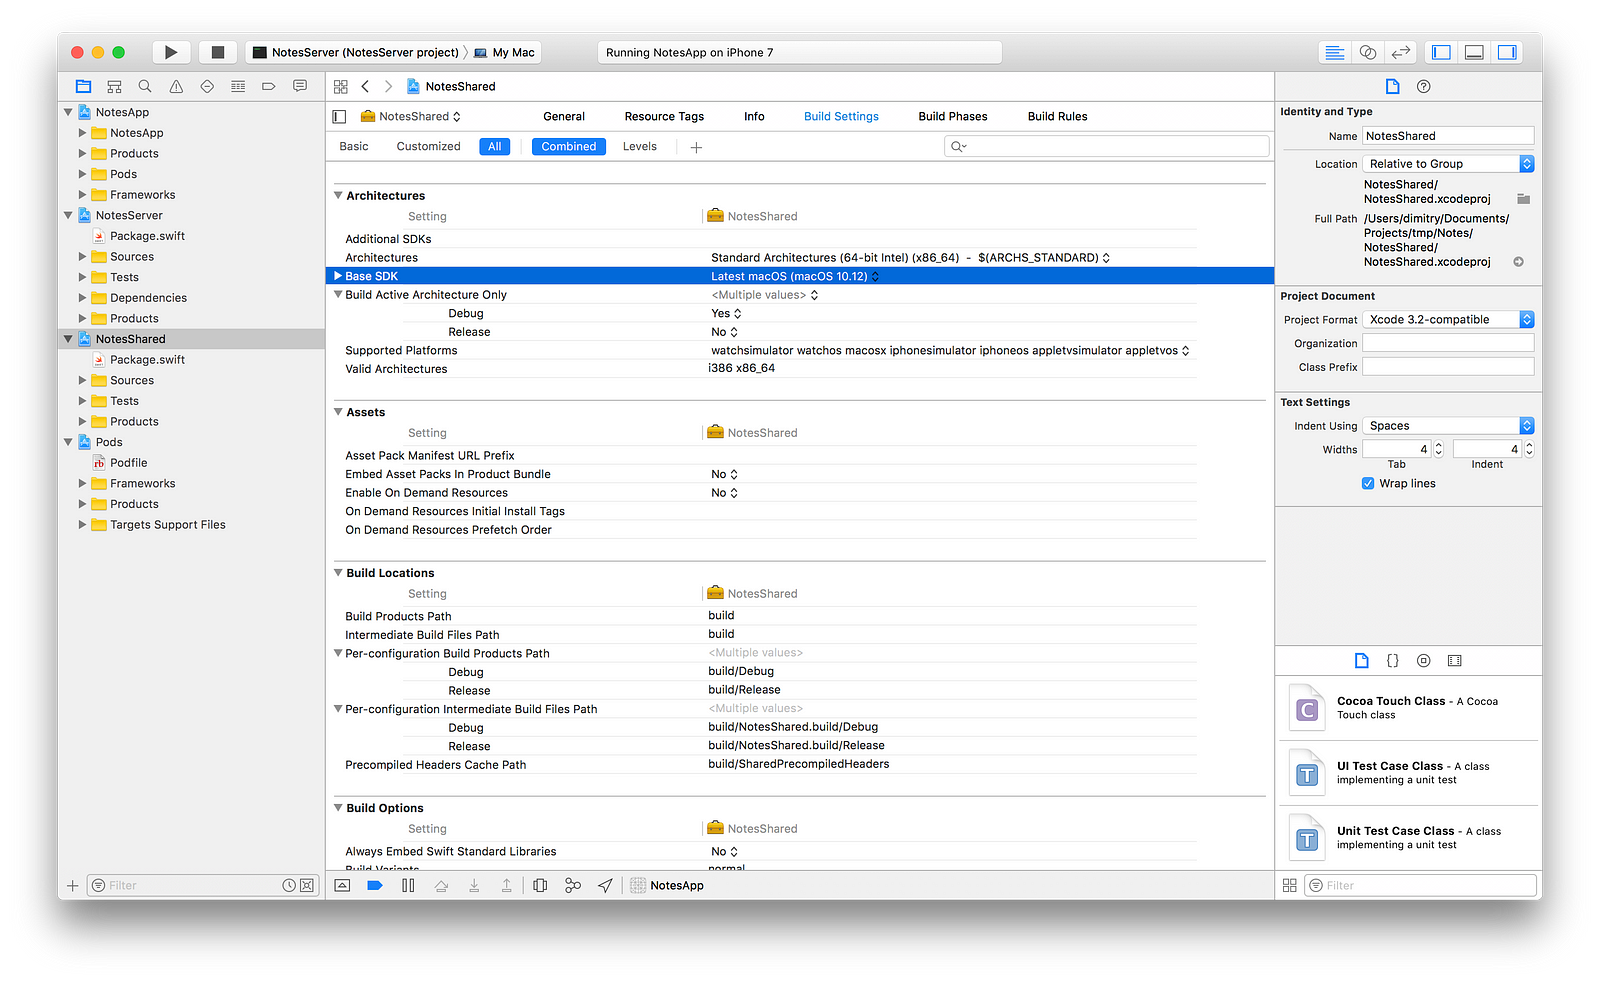
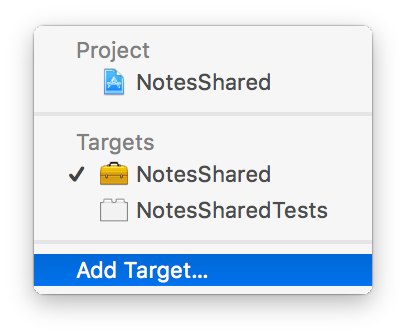
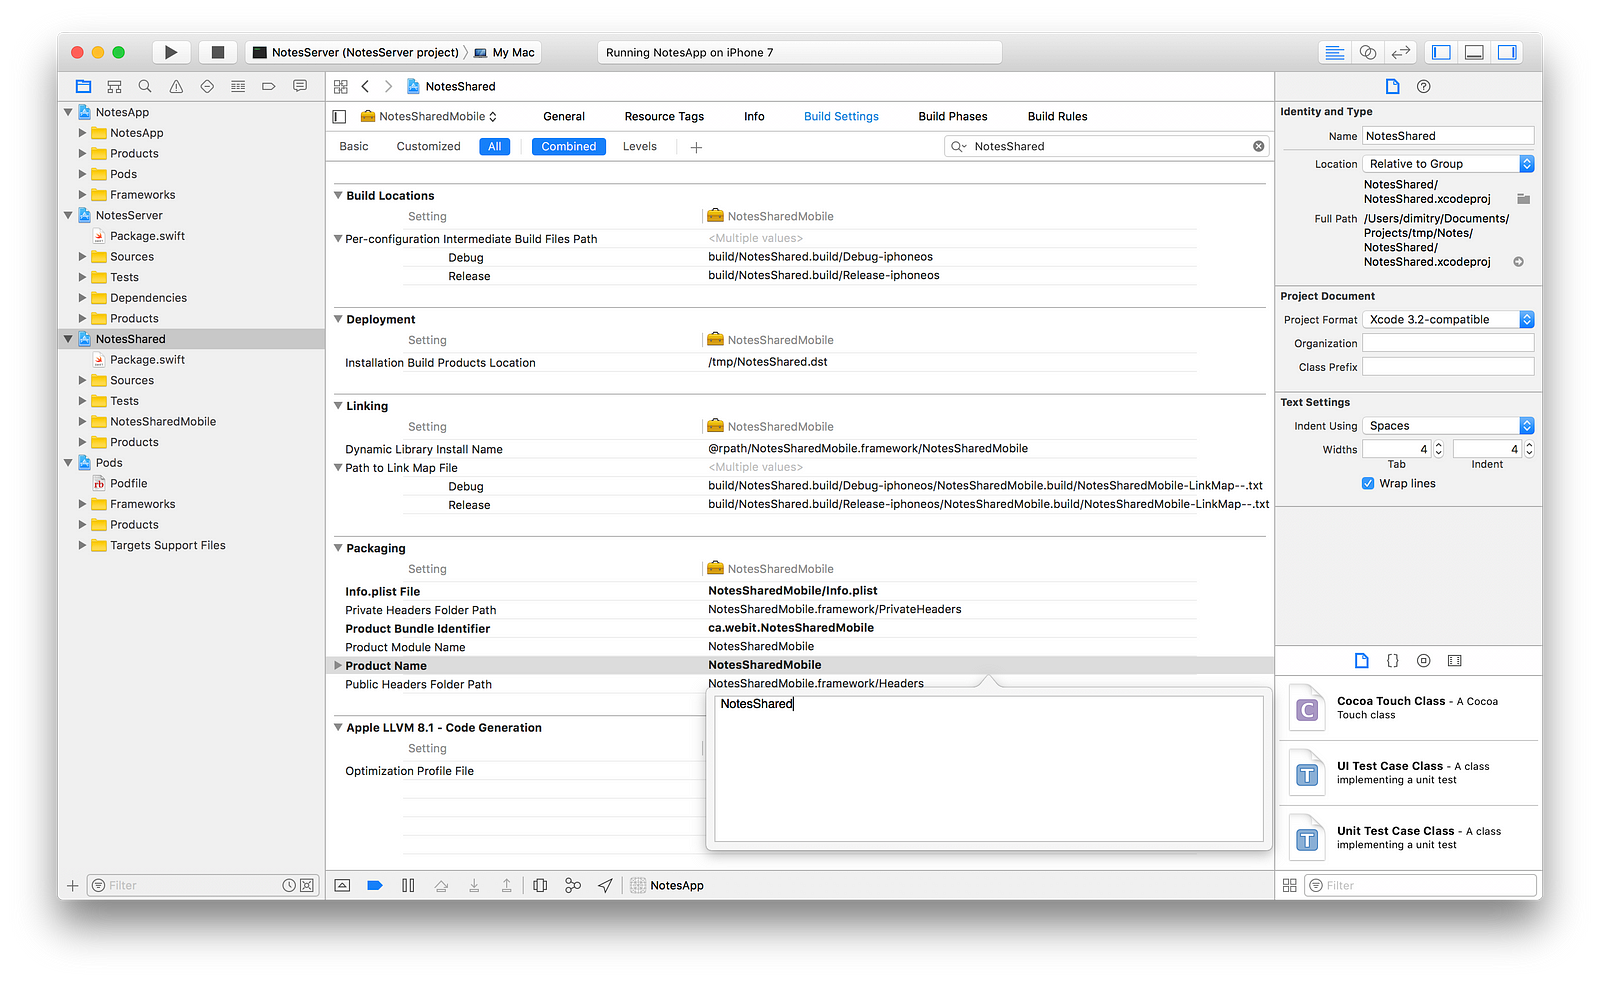
There is one caveat here: by default, the NotesShared project has one target and that target is for the Mac SDK. To attach this project to the NotesApp target we need to create a new target in the NotesShared project that targets the iOS SDK.

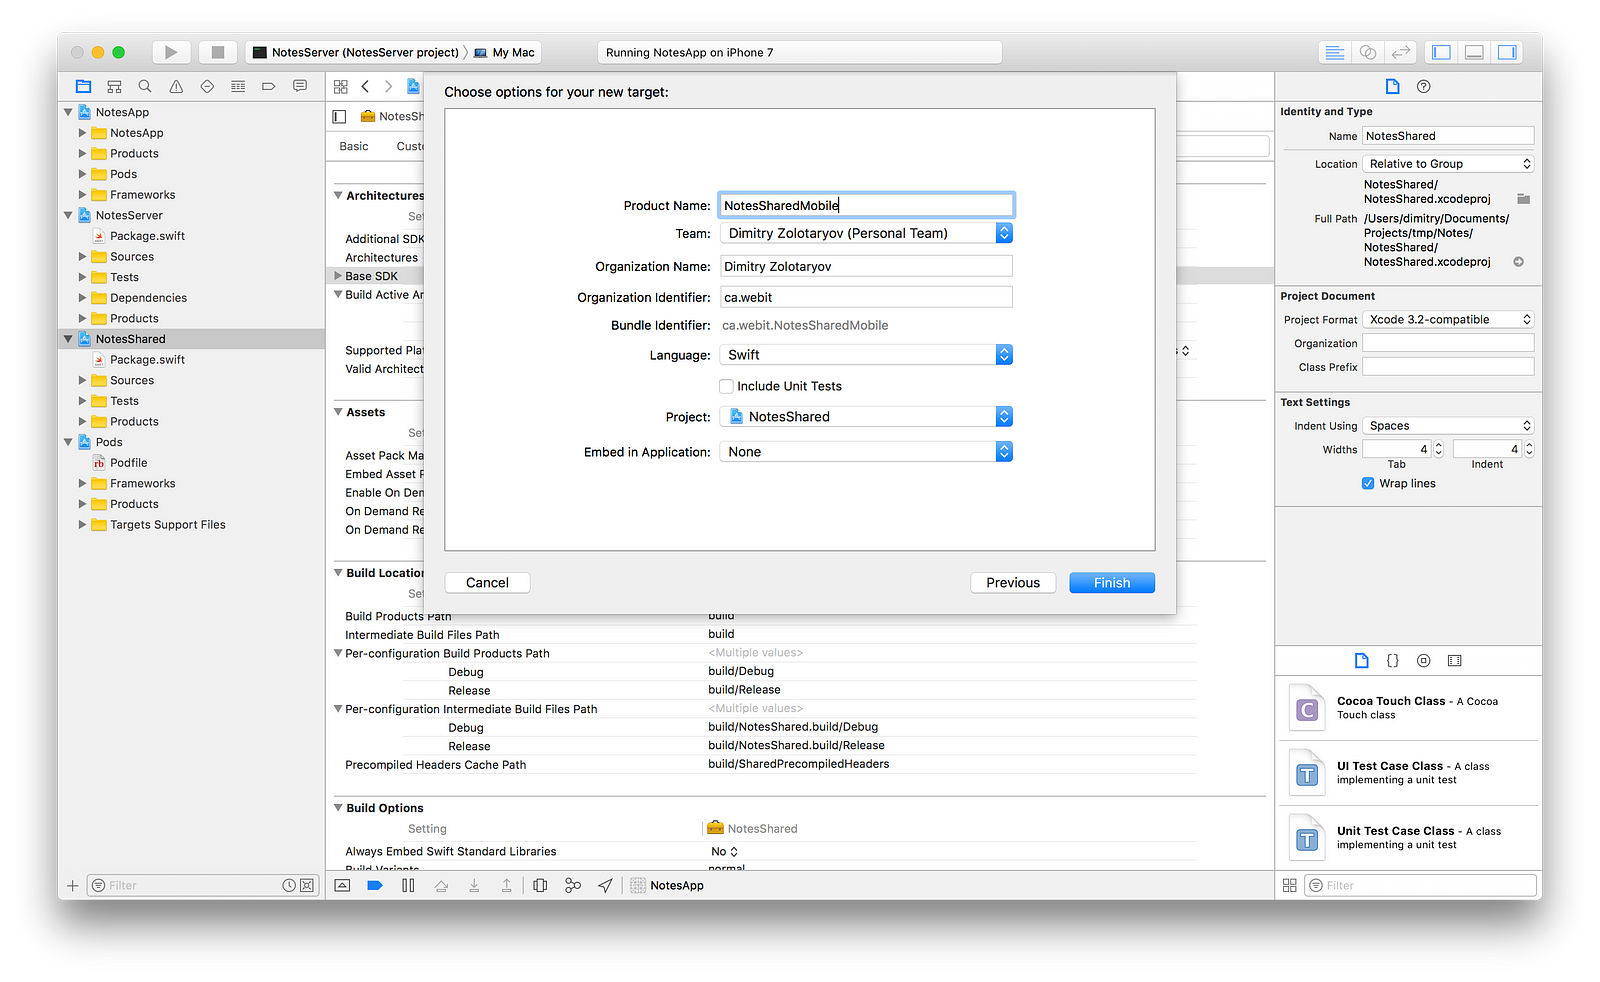
To use the new NotesSharedMobile framework using the same import NotesShared statement as on the server side, we need to rename the generated framework name to NotesShared. The target name will remain NotesSharedMobile but the import statement in the mobile app will be import NotesShared.
Now that we have two targets, it’s enough just to link both the App and the Server with their respective Shared targets, NotesShared and NotesSharedMobile, respectively.
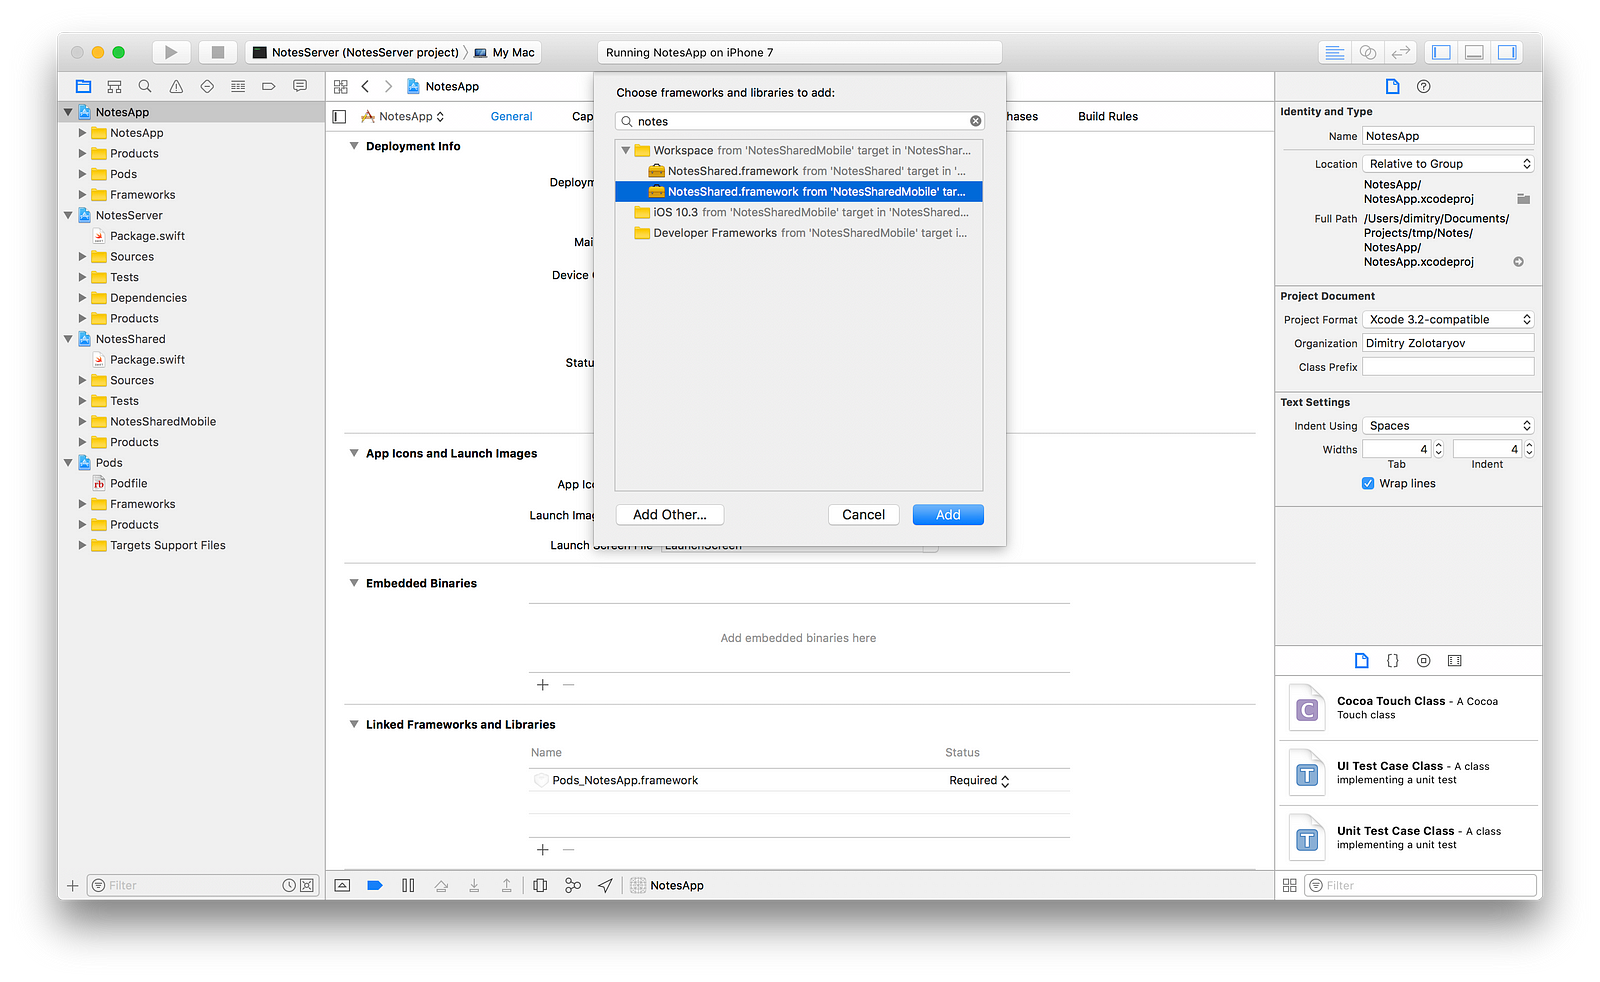
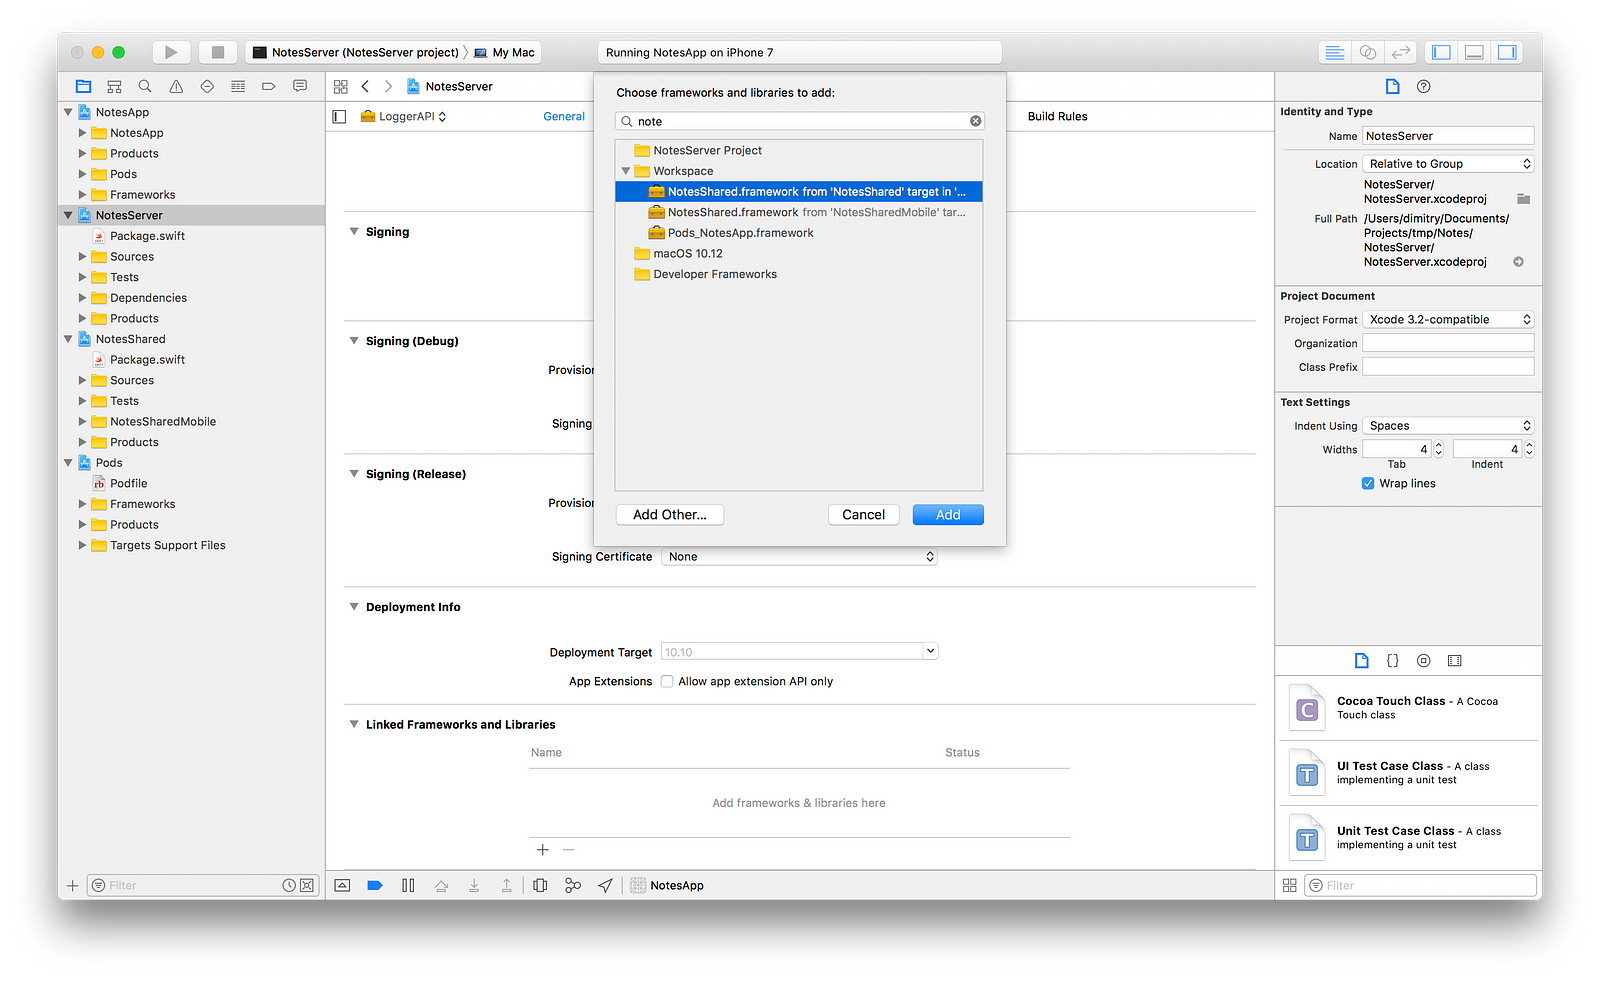
Find the Linked Frameworks and Libraries section for the NotesApp and NotesServer targets and link them to their respective NotesShared frameworks.
Wrap up
That’s about all the steps we need to get the initial structure of the project in place. The full application can be found on Github: https://github.com/dimitryz/Notes
It took a few tries to get going but the overall project structure is clean and easy to dive into. I did add an install.sh file to help with the initial setup but that was it. There is an added benefit of having the business logic separated from the UI of the application: changes to the UI do not require the recompilation of the shared logic.